

1. Creating google application
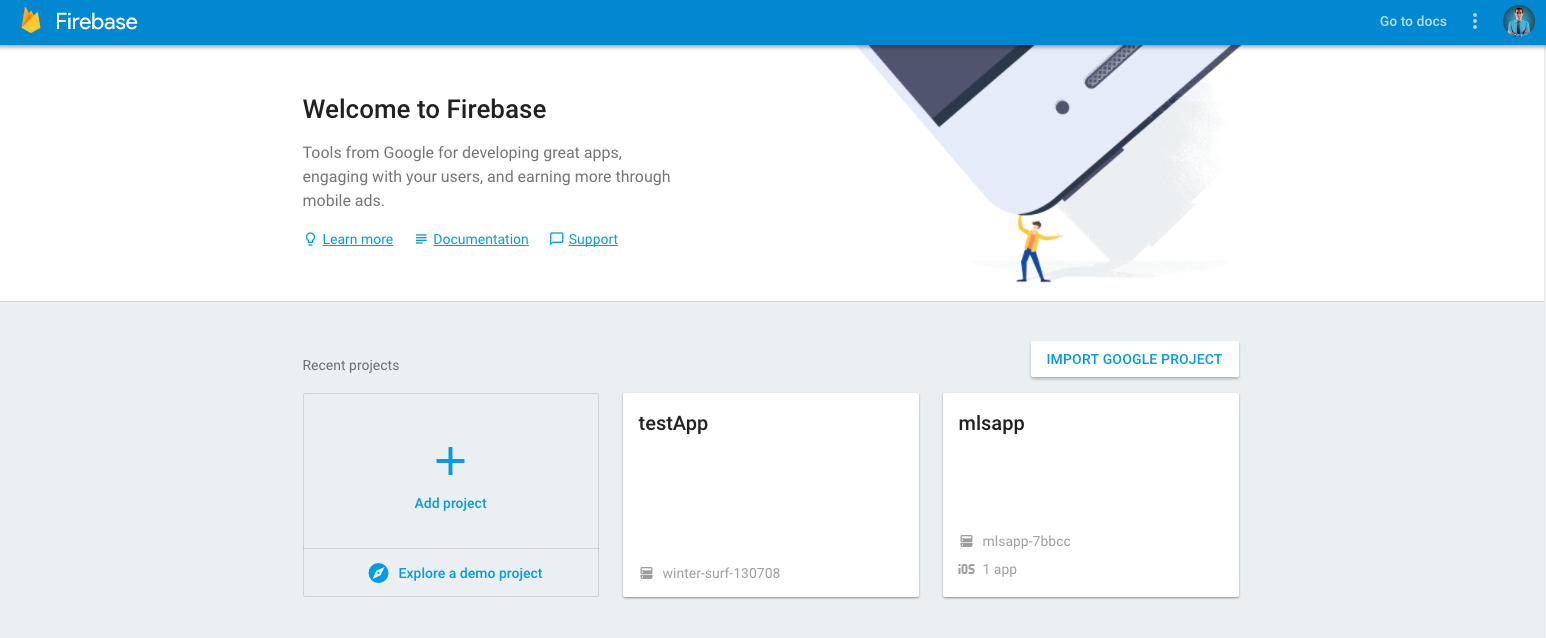
Go to firebase developer console
Sign up or login using your gmail account, create a new project or use an existent one.
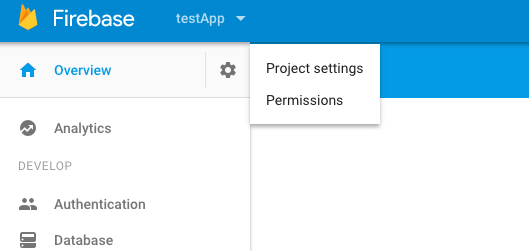
2. Go to settings
using the top left corner menu and select project settings
3. get the Sender Id and the APIkey
on “cloud messaging” tab you will find the APIkey and the sender Id

4. Install Push Notification plugin
Now you can go to your Cordova/phone-gap project and install the amazing plugin for sending push notification for both Android and iOS
cordova plugin add phonegap-plugin-push --variable SENDER_ID="XXXXXXX" //DON’T forget to replace the ‘xxxxx’ with your created sender id
in this step you get your TOKEN which will be used in the server side
Now inside your .run function and after device get ready you can use this plugin like
angular.module('starter', ['ionic'])

.run(function($ionicPlatform) {
  $ionicPlatform.ready(function() {
   var push = PushNotification.init({
    android: {
        senderID: "12345679"  // send id from google app
    }
});

push.on('registration', function(data) {
    // data.registrationId   TOKEN is here
});

push.on('notification', function(data) {
    // data.message,
    // data.title,
    // data.count,
    // data.sound,
    // data.image,
    // data.additionalData
});

push.on('error', function(e) {
    // e.message
});
  });
})
you can find more details on how to use the plugin here
5. Testing your app
now you need to simulate your server to send a notification and there are many solutions for that you can simply use this PHP class to this and your server side code may be like :
  $apiKey = "YOUR GOOGLE API SERVER KEY";
  $devices = array('YOUR REGISTERED DEVICE ID');
  $message = "The message to send";

  $gcpm = new GCMPushMessage($apiKey);
  $gcpm->setDevices($devices);
  $response = $gcpm->send($message, array('title' => 'Test title'));
I have made a sample server side live link to use it in testing you can use it simply as :
http://test.w34.co/gcm.php?id=TOKEN HERE&apikey=API KEY HERE